


As an essential tool in modern life, laptops are almost everyone’s “companion.” Whether used for work, study, or entertainment, laptops carry out many of our daily tasks. However, over time, dust, fingerprints, oil stains, and other dirt accumulate, affecting the device’s appearance and performance. Therefore, regular laptop cleaning not only helps maintain its aesthetic but also extends its lifespan and improves its efficiency.
I will share a comprehensive cleaning guide to help you properly maintain your laptop. Starting with the preparations before cleaning, I will guide you through each step to clean every part of your laptop, ensuring your device looks as good as new. Whether you’re cleaning a newly purchased laptop or restoring its comfort of use, the following tips will be helpful.
Preparing Cleaning Supplies
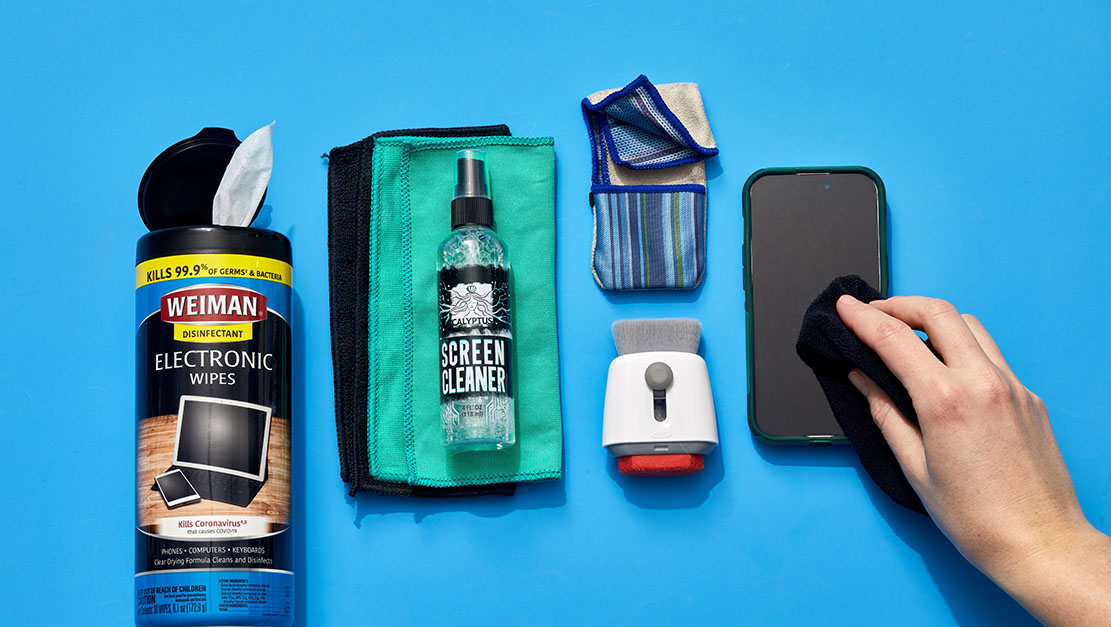
Before getting started, it’s important to prepare the necessary cleaning supplies. Using the right tools will not only make the cleaning process smoother but also prevent damage to your device. Here’s a list of essential cleaning tools I recommend:
- Lint-free or Microfiber Cloth: Used for wiping down the laptop’s surface, especially the screen and keyboard. Microfiber cloths are soft and lint-free, making them ideal for cleaning without scratching.
- Canned Air: Ideal for cleaning debris and dust from the keyboard and laptop ventilation ports. It’s an efficient and safe way to clear out hard-to-reach places.
- Cleaning Wipes or Special Cleaning Solution: Used to wipe the surface of the laptop, especially the touchpad and keyboard. Be sure to choose non-abrasive cleaning solutions to avoid harming the electronics.
- Soft Brush or Mini Vacuum: Perfect for cleaning small debris, especially from the keyboard gaps and bottom of the laptop.
- Cotton Swabs: Useful for cleaning hard-to-reach crevices, such as around the keyboard and connectors.
Once you’ve gathered all these tools, you’re ready to begin cleaning your laptop. While cleaning might seem simple, each step requires care and patience to avoid causing any damage.
Professional Tips Before Starting
Before you begin cleaning, I recommend following a few steps to ensure the cleaning process is safe and effective:
- Turn off the Power and Disconnect External Devices: For safety, make sure your laptop is turned off and unplugged. Disconnect all external devices, including the charger, mouse, external hard drive, and USB drives.
- Prepare the Cleaning Area: Choose a clean, well-lit space for cleaning. It’s best to place your laptop on a flat surface, such as a desk, to avoid any accidents during the process.
- Wear Anti-Static Gloves: If you’re concerned about static electricity potentially damaging the laptop, you can wear anti-static gloves. This helps protect internal components during the cleaning process.
With these preparations in place, you can confidently begin cleaning!
Step 1: Use Canned Air to Clean Debris
Start by using canned air, which is an essential tool for cleaning your laptop. Many people overlook the dust and debris that accumulate inside the laptop and in the keyboard gaps. These tiny particles can affect the laptop’s cooling system and may even lead to hardware issues. Cleaning these hard-to-reach areas is crucial.
- Spray Air into Gaps: Hold the nozzle of the canned air near the keyboard, screen edges, and laptop ventilation ports. Press the nozzle to release air and blow away dust and debris. Pay extra attention to the keyboard gaps and the areas around the touchpad.
- Avoid Direct Contact: Keep the nozzle of the canned air at a distance from the laptop to avoid direct contact, which could cause excessive pressure and result in liquid leakage.
- Clean the Ventilation Ports: Laptop cooling vents are prone to dust accumulation, which can affect cooling efficiency. Using canned air to clean these areas can help prevent overheating.
This step is quick and simple but effectively removes dust inside your laptop, improving its performance and lifespan.
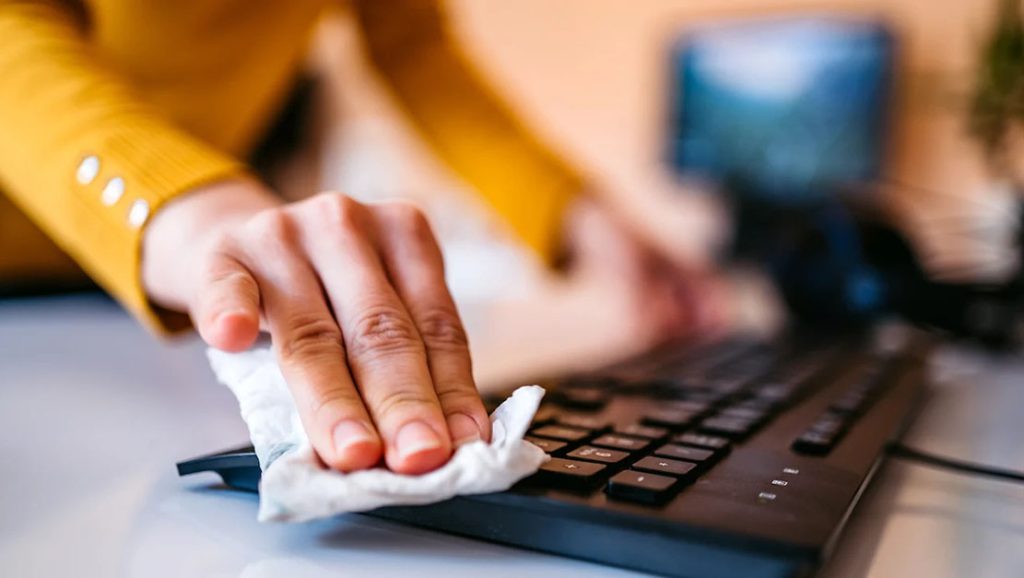
Step 2: Clean and Disinfect the Keyboard
The keyboard is one of the most dust-prone areas of a laptop, especially for users who type frequently. Oil, food crumbs, dust, and other residues easily build up on the keyboard. Neglecting to clean it over time can make the keys sticky and affect the typing experience. Therefore, cleaning the keyboard is not only necessary for maintaining the laptop’s appearance but also for improving typing performance.
- Wipe with a Lint-Free Cloth: Use a microfiber cloth to gently wipe the surface of the keyboard, removing fingerprints and stains. If the keyboard is particularly dirty, you can lightly spray a specialized cleaning solution or alcohol, ensuring it doesn’t seep into the keys.
- Use a Soft Brush for Gaps: Small debris often collects in the gaps between the keys. Use a soft brush to gently sweep between the gaps and remove hidden dust.
- Disinfect the Keyboard: To ensure hygiene, you can disinfect the keyboard with rubbing alcohol. This effectively kills bacteria, preventing germs from accumulating, especially in shared environments.
If you’re particular about details, consider using specialized cleaning tools to help clean every individual key.
Step 3: Clean the Bottom and Touchpad
The bottom of the laptop is often overlooked. While it doesn’t come in direct contact with users as frequently, dust, stains, and fingerprints still accumulate. The touchpad, on the other hand, is regularly touched, leaving oil and smudges that affect its responsiveness. Therefore, cleaning the bottom and touchpad is an essential step.
- Clean the Bottom: Use a damp cloth to wipe the bottom of the laptop. Be careful not to let water drip into any ports or holes to prevent internal damage. If the bottom is especially dirty, use a small brush to gently clean it.
- Clean the Touchpad: The touchpad is a critical part of laptop usage, so keeping it clean enhances the user experience. Use a damp cloth to clean the touchpad, removing oils, fingerprints, and stains.
Step 4: Finally, Clean the Screen
The screen is the primary interface we interact with on a laptop. Keeping it clean not only improves the visual experience but also helps prolong the screen’s lifespan.
- Wipe with a Lint-Free Cloth: Use a microfiber cloth to gently wipe the screen, removing fingerprints, oil stains, and dust. If there are stubborn stains, you can use a specialized screen cleaning solution, but avoid letting liquid seep into the edges of the screen.
- Avoid Excessive Pressure: When cleaning the screen, be sure not to apply too much pressure. A light touch is sufficient to prevent scratching the screen.
Tips for Keeping Your Laptop Clean
To maintain your laptop’s cleanliness over the long term, it’s important to establish these habits:
- Regular Cleaning: Clean your laptop regularly, ideally once a week, to prevent dust and dirt from accumulating.
- Avoid Eating and Drinking Around the Laptop: Refrain from eating or drinking while using the laptop to reduce the risk of food crumbs and liquid spilling onto the device.
- Use Laptop Protection Films: Consider applying screen and keyboard protectors to your laptop. This helps prevent direct contact with fingerprints and stains, keeping the surface clean.
Recommended Products
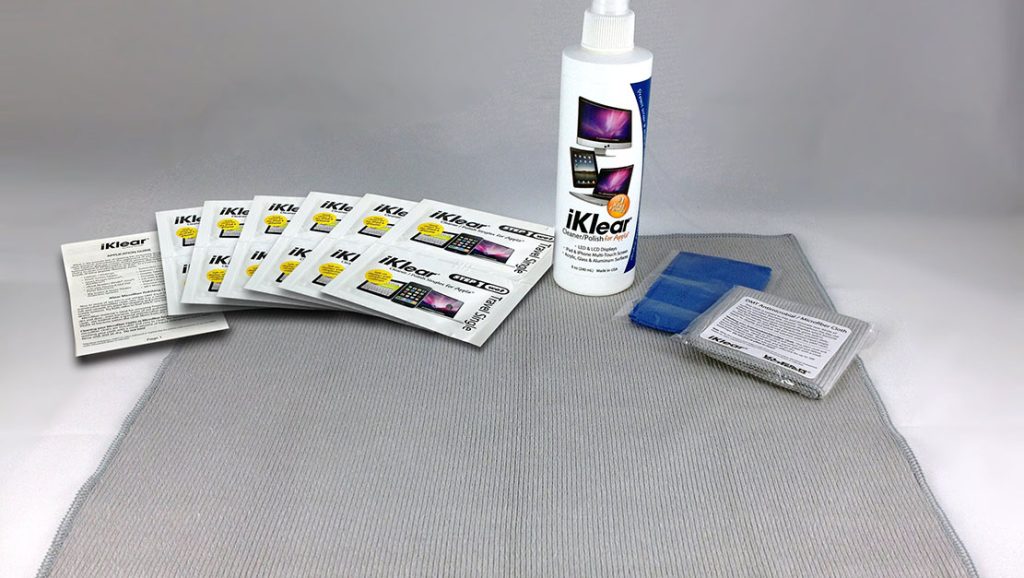
- iKlear Apple Cleaning Kit: This cleaning kit is specifically designed for Apple products and includes screen cleaners, cloths, and brushes that are perfect for cleaning all parts of your laptop, ensuring it stays clean and pristine.
- Compressed Air Duster by Falcon Dusters: This canned air duster is perfect for cleaning dust and debris from hard-to-reach areas inside your laptop. It’s efficient for cleaning keyboard gaps and ventilation ports, ensuring your laptop runs smoothly.
With regular cleaning and proper maintenance, your laptop’s lifespan can be extended, and its performance will be greatly improved. I hope this comprehensive cleaning guide helps you keep your laptop looking as good as new!


+ There are no comments
Add yours